How to Illustrate a Children’s Book with AI (2026)
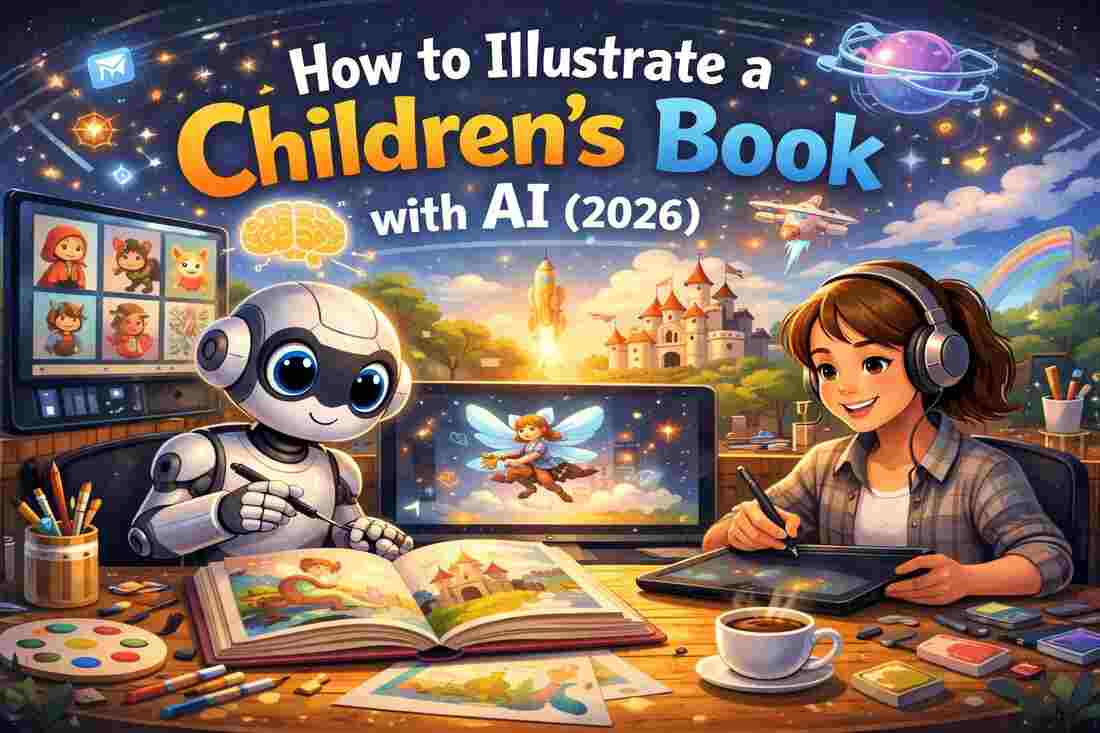
Over the last couple of years, children’s book illustration has been changed by new digital tools. This lets writers and illustrators get from concept to finished colourful images quicker than ever before. The purpose of this blog is to show how modern tools can be applied to support each step of the illustration process. Through this blog, you will learn how to prepare for the illustration process. You will learn to plan your story, select a visual style, develop your characters, create the scenes for your book, and prepare your images for distribution.
A few years ago, one small writer had a notebook full of story ideas, but no artistic ability. Their characters existed only in their head. One day, they decided to try a digital tool out of curiosity. Slowly, they were able to see their characters on the screen. The bear was now wearing a hat, and the little girl was now carrying a bright red backpack. Where doubt once existed, there was now excitement.
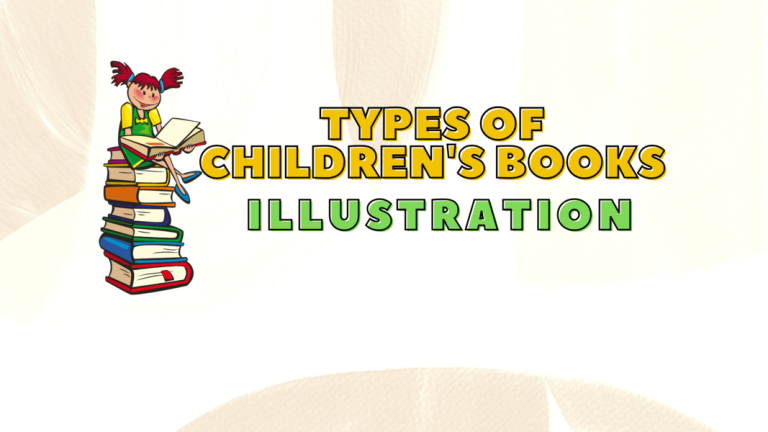
Types of Children’s Books You Can Illustrate
Before you start drawing anything, you need to understand the type of book you are making. Different books need different styles. Some need bright colors while others need soft and calm images. When you know your book type, your work becomes much easier.
Common Types of Children’s Books
Here are some common types of children’s books.
- Picture Books
Big images and very little text. Best for young kids.
- Early Readers
Simple drawings that help children understand words.
- Bedtime Stories
Soft colors and calm scenes.
- Educational Books
Clear visuals that teach numbers, animals, or facts.
- Adventure Stories
Fun characters and exciting scenes.
- Quick Style Guide Table
| Book Type | Illustration Style | Detail Level | Mood |
| Picture Book | Bright and colorful | High | Fun and playful |
| Early Reader | Simple and clear | Medium | Friendly |
| Bedtime Story | Soft and gentle | Medium | Calm |
| Educational | Clean and neat | Medium | Informative |
| Adventure | Bold and dynamic | High | Exciting |
Understanding book types helps you create better children’s book illustration ideas because each category needs a different visual feeling.
Step 1: Plan Your Story and Visual Direction
Before using any tool, take time to imagine your world. Write short notes about characters, places, and emotions. Think about how your story should feel. Happy? Funny? Calm? Every decision later will depend on this step.
- Simple Planning Pointers
- Write short descriptions of each character
- Decide the age group of readers
- Choose a color mood like bright, soft, dark, or warm
- Think about how many pages need illustrations
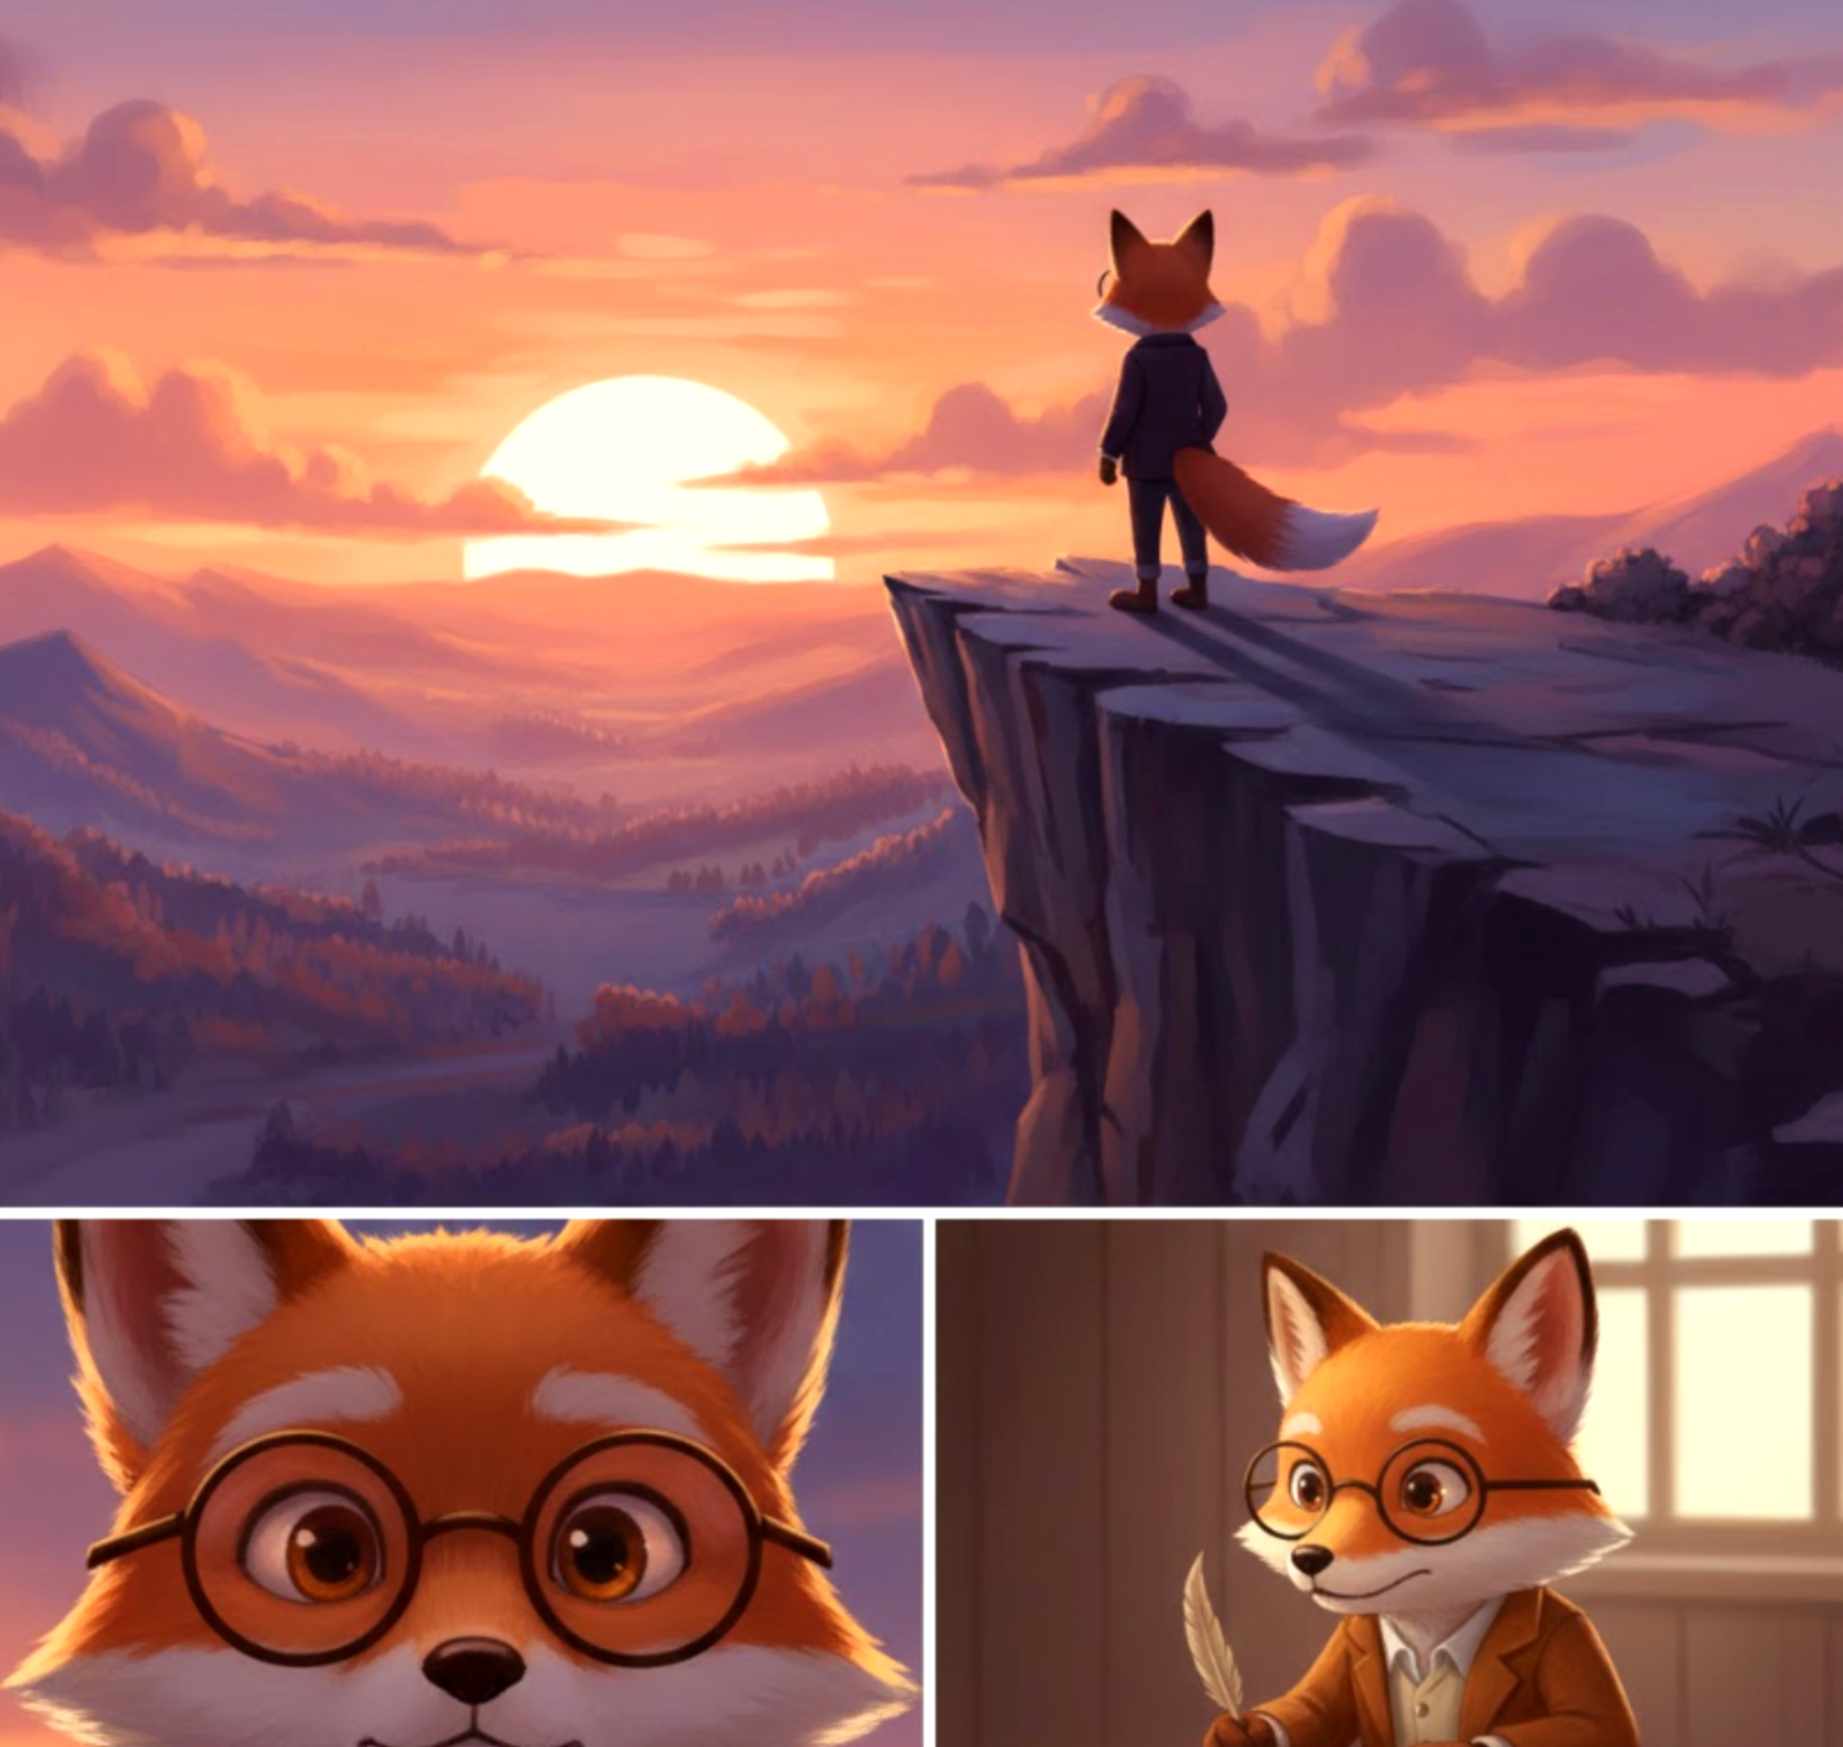
Step 2: Create Your Main Characters First
Characters are the heart of every children’s story. Instead of jumping into full scenes, start by designing one main character. Try different poses and expressions. A smiling face, a surprised look, or a walking pose can help you understand your character better.
Take a simple start and look at how your character looks. What shape it is and how it shows personality rather than looking perfect because of its detail. When the base shape of the character is made, you can create the entire world around your character based on how the character relates to its environment.
➢ Character Design Tips
- Simple round shapes that appear to be friendly.
- Use happy facial expressions and clear, happy eyes to show emotions.
- Don’t add too many small details.
- Ensure your character looks the same throughout all scenes.
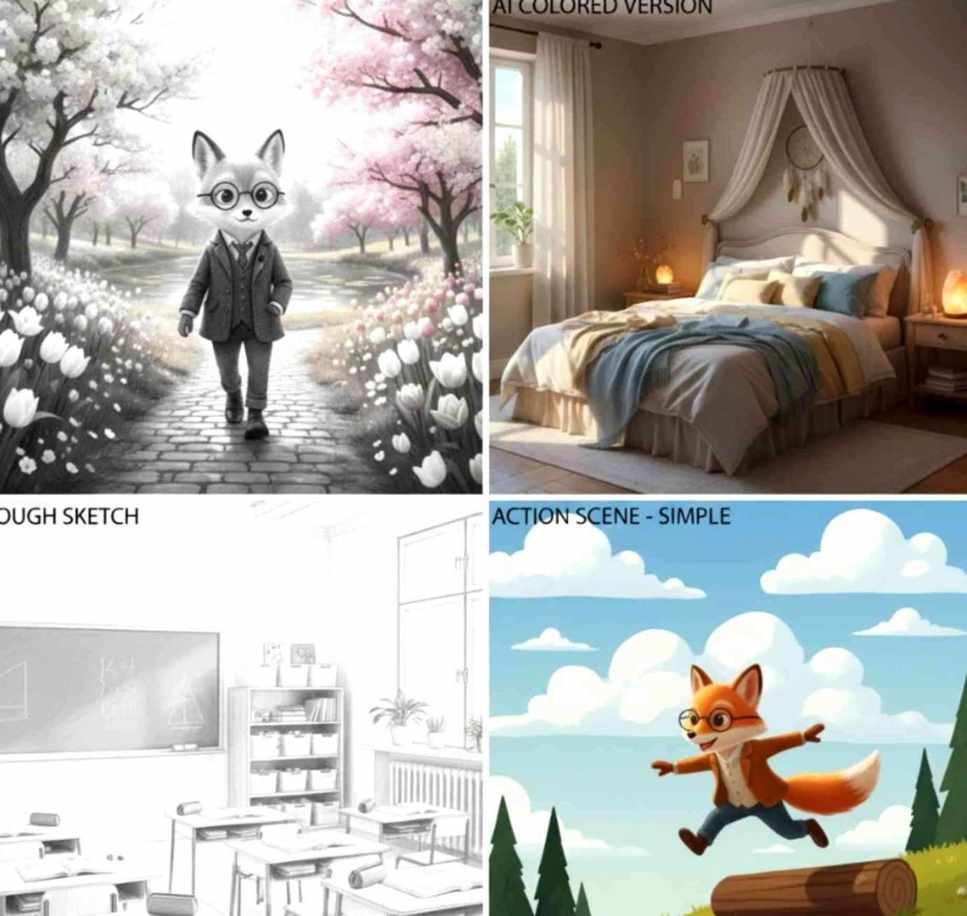
Step 3: Turn Your Ideas into Simple Sketch Scenes
Now it is time to build your scenes. Do not worry about perfect art. Think of this step like rough planning. You are only deciding where characters stand, what they do, and how the page looks.
Start with one page at a time. Maybe your character is walking in a park. Maybe they are talking to a friend. Focus on the main action only. Background details can come later.
Many beginners like to look at work from a professional book illustrator to understand how scenes stay clear and easy to follow.
➢ How to Make a Scene Easy
- Have one main action for each page.
- Leave plenty of space on the page for body text.
- Use large shapes when you create your art before adding in small shapes.
- Do not overcrowd the page with images.
- Simple Table for Your Scene Planning
| Page Goal | What to Draw First | What to Add Later |
| Introduce a Character | Character’s pose | Add small background items |
| Show an Action | Gesture or Movement | Add any extra details |
| Create an Emotional Moment | Character’s Facial Expression | Add Lighting/Mood |
| Create a Closing Scene | Last Pose of the Character | Add Decorative elements |
Step 4: Build Backgrounds Without Making Them Too Busy
The purpose of a background is to help develop the story through the visual elements. The way the background appears to the viewer is essential. When creating an image of a character, start with simple shapes with soft, clear lines like trees, houses, or clouds. This makes it easy for children to see the action happening in the image.
Focus on creating balance within the scene. If you have a very colourful character, create a calm scene behind him. If you have made a very busy image for the background, keep the character simple.
➢Tips to Create Great Backgrounds
- Use solid colours only.
- Do not use too many patterns in the background.
- Your background should have minimal importance for the readers of the scene.
- Repeat a similar shape throughout the book to maintain uniformity between each page.
Step 5: Keep Your Style Consistent Across Pages
A children’s book looks best when every page feels part of the same story. Use the same colors, shapes, and character details on each page. This makes it easier for kids to follow the story and recognize characters.
Consistency also saves time. You don’t have to redraw your character completely for every scene. Small changes for movement or emotions are enough.
➢ Simple Consistency Tips
- Use the same color palette throughout
- Keep character proportions the same
- Repeat background shapes in different pages
- Keep line style similar across all images
➢ Quick Style Consistency Table
| Element | What to Keep | Example |
| Character | Size, colors | Red backpack, round face |
| Lines | Thickness, curve | Smooth and soft lines |
| Colors | Main palette | Pastel for bedtime story |
| Background | Shapes, style | Simple clouds, trees, houses |
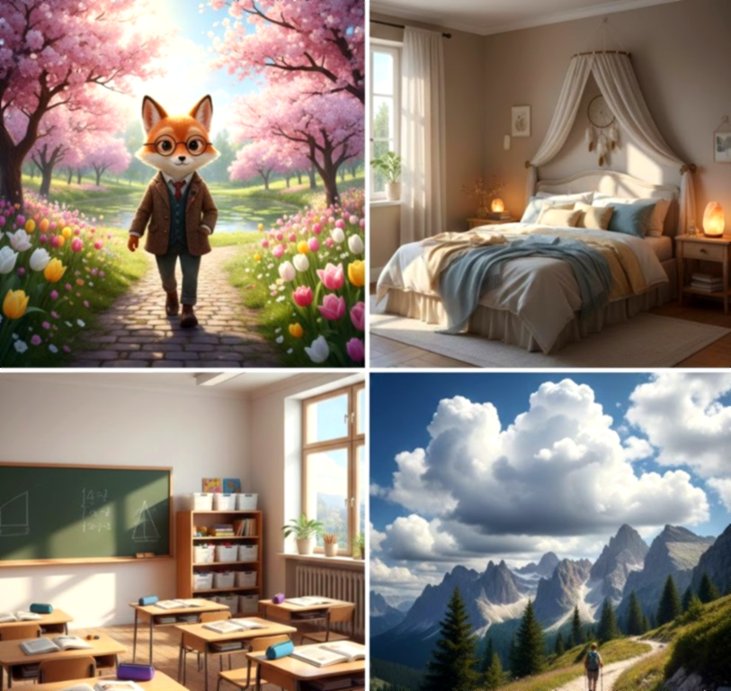
Step 6: Create Final Illustrations Using AI Tools
Once your sketches are ready, you can use AI to create polished images. AI tools can help fill in colors, textures, or small details. You still control the style, but the process becomes faster.
A book illustrator Canada might use AI to quickly generate multiple versions of a page. Then they choose the one that fits the story best. Remember, AI is a helper, not a replacement. Your ideas, planning, and creativity are still the heart of the book.
➢Quick Final Illustration Pointers
- Start with rough sketches only
- Use AI for colors, lighting, or texture
- Adjust images to keep your style
- Make sure all pages feel connected
Step 7: Combine Text and Illustrations
Once your images are ready, it’s time to add the story text. Place the text so it does not cover important parts of your illustration. Let the pictures and words work together. For example, a speech bubble can show what a character says. Or, a small space at the bottom of the page can carry narration. This makes the story easier for children to read and enjoy.
➢ Text + Illustration Tips
- Keep text short and simple per page
- Leave space around characters for clarity
- Match the text style with the mood of the images
- Test readability with kids, if possible
Step 8: Exporting and Preparing for Publishing
Now your book is almost ready. Export all pages in a format that works for printing or eBooks. Common formats are PDF, PNG, or JPEG. Make sure the resolution is high so colors look bright and clean.
A comic book illustrator might check each page carefully before sending it to print. This ensures no details are missing and all pages match the style.
➢ Simple Publishing Checklist
| Step | What to Do | Tip |
| Check colors | Make sure images are bright and clear | Compare screen vs print |
| Page order | Confirm sequence matches the story | Number pages |
| Text alignment | Check that all text fits and is readable | Use simple fonts |
| Export format | Choose PDF or high-res images | Keep backup copies |
By following these steps, even beginners can create a beautiful children’s book with AI while maintaining a human touch on every page.
Extra Tips to Make Your Children’s Book Shine
Even after you finish the illustrations and combine the text, there are a few extra things that can make your book stand out. Small details can make a big difference in how children and parents enjoy your book.
Focus on Character Expressions
Kids connect with characters through emotions. Make sure each character shows feelings clearly, like happy, sad, surprised, or excited. You can do this through eyes, mouth, and posture. Even a small change in the character’s face can tell a big part of the story.
Quick Expression Table
| Emotion | How to Show in an Illustration | Example |
| Happy | Smiling eyes, curved mouth | Character jumping in the park |
| Sad | Droopy eyes, small frown | A character losing a toy |
| Surprise | Wide eyes, open mouth | A character opening a gift |
| Excited | Hands up, big smile | Character on an adventure |
Think About Page Flow
Children’s books are usually read page by page. Make sure each page flows naturally to the next. Avoid sudden jumps that confuse the reader. Use small hints in illustrations to guide the eye, such as footprints, looking direction, or repeated objects.
Basic Layout Guidelines
- Place your most important action in either the center or the left side of the page.
- Use background elements around the main action to draw your eye towards it.
- Utilize color and shape to make a connection between pages.
- Use small variations in your transition to create fluidity on the page.
Using Color Intentionally
The colors you choose on each page help bring the feel of each page together. For example,
- BOLD bright colors are very fun for adventure.
- SOFT pastels create the right atmosphere for a nighttime story.
By remaining consistent with one or two primary colors from page to page, it helps bring the overall feeling of your book together.
- Color and Mood Examples
Emotional → Muted Tones
Fun → Bold primary colors
Calm → Soft tones
Adventurous → Bright colors
Add Fun Details to Pages
Small details make pages interesting, but too many can distract kids. Adding a few subtle objects, such as a toy, a bird, or a tree, can help children find different things each time they read the book and encourage them to read it again and again.
- Examples:
- A butterfly in the corner of the page
- A hidden pet behind the main character
- Seasonal Elements on a page
Use AI to Speed up Revisions
Even after your first full draft, you may want changes. AI can help you quickly test new colors, expressions, or backgrounds. You can create multiple versions and pick the best one. This helps save time without losing your original creative ideas.
- Change background colors to see which works best
- Test different facial expressions for the main character
- Adjust lighting for morning or evening scenes
Test with Real Readers
Before you hit publish, let some children read your book. Observe how the kids react while they are reading and see whether they are engaged, confused, or laughing. Observations made during this testing will help you make small adjustments before production, such as printing or online publishing.
- Basic testing checklist:
| Item to Check | How to observe | Example Fix |
| Character clarity | Are the characters distinct from one another? | Change size or color |
| Readability of text | Can the children easily read the text? | Change font size or placement |
| Flow of pages | Does the story flow from page to page? | Slide the illustrations slightly |
| Engagement | Do the children show continued interest? | Add small details and faces to illustrations. |
Frequently Asked Questions
- Do I need to be a professional artist when using AI?
No. You may begin with rough sketches or only ideas. Even if you find developing your characters or scenes artistically difficult, using AI will help you develop your characters and scenes.
- Will AI replace a “real” illustrator?
No, not entirely. AI is a support tool. Your original ideas for characters, developments of your story, and your creativity are not compromised. AI is used to facilitate colors, textures, and smaller details.
- What if I wish to change my character later?
It’s easy. Keep your sketches and text separate from AI outputs. You can update poses, expressions, or colors and generate a new version quickly.
The Ending Notes
In 2026, using AI to produce a children’s picture book has become much easier than before. However, the creative process is still important when it comes to the product. Planning your story, developing characters and environments, and maintaining a consistent look and feel throughout are all important steps in producing a children’s picture book.
Although AI can help with coloring, texture, and printing final images, the ideas and decisions made by you will decide the uniqueness of each book you create. By understanding the different types of children’s books available and developing a simple planning process, you can use real readers to test your book’s pages and create an entertaining, memorable experience for children.
Whether you are just beginning or have been creating books for a period of time, by following the above standards, you will be able to bring your story to life. A well-illustrated book, even made with AI, can spark imagination and create lasting memories for young readers.
Emily is a professional and creative strategist behind BookIllustrator.ca, a leading illustration agency dedicated to delivering premium book illustration services in Canada and internationally. With a strong foundation in storytelling and visual communication, she works closely with expert book illustrators to transform manuscripts into visually compelling, market-ready publications.